
Mail delivery has become more important for us in recent years than it ever has been. While many communications have become electronic, more of the goods our family buy are purchased online as the option to buy locally is limited and in some cases is reducing.
We are in a rural mail delivery area. There are a few downsides to that. Firstly, in our case mail delivery is only 3 days a week. For some the mailbox has to be with a cluster of others, not in front of the house, but some distance away, usually out of visibility. This was the case with us. It could be worse, on some remote parts of Australia people have to travel long distances to collect their mail, like at this property in the NT where it is a 180km (112 miles) round trip along the gravel driveway to check the mail. Also, there isn’t any attempt to deliver packages that don’t fit in the mailbox, instead a card is left requiring collection from the Post office. That’s something I want to avoid as the Post office is not my happy place.
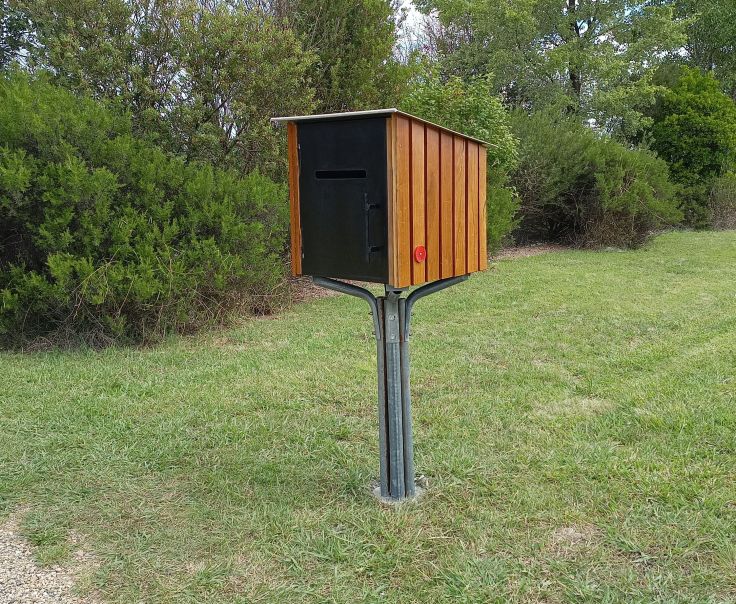
This is how it was for us until recently. As land around us was subdivided the mail contractor was going to more places and eventually right past our driveway. I got approval to move the mailbox to next to our driveway. Rather than simply moving it I decided to upgrade. There was a lot to like about the old one, but it was small. I wanted to have a much larger mailbox capable of holding large parcels and eventually have a notification alert sound in the house when there has been a delivery. The mailbox has been built and installed, but I’m just starting on the notification part.
I was going to buy a mailbox online, but the ones I looked at were not overly large. Quality ones are expensive, or at least more than I wanted to pay and are styled to suit the modern housing style, not the old cottage that we have. I also wanted to use up some bits I’ve had sitting around for some years.
I’m not very good at visualising what a finished project will look like. I tend to change the plan as I go because it’s not until I have something to look at that I can see if I will like it. In this case I just started building and watched to see what materialised. Sometimes things just don’t work out, but in this case it is better than I expected.
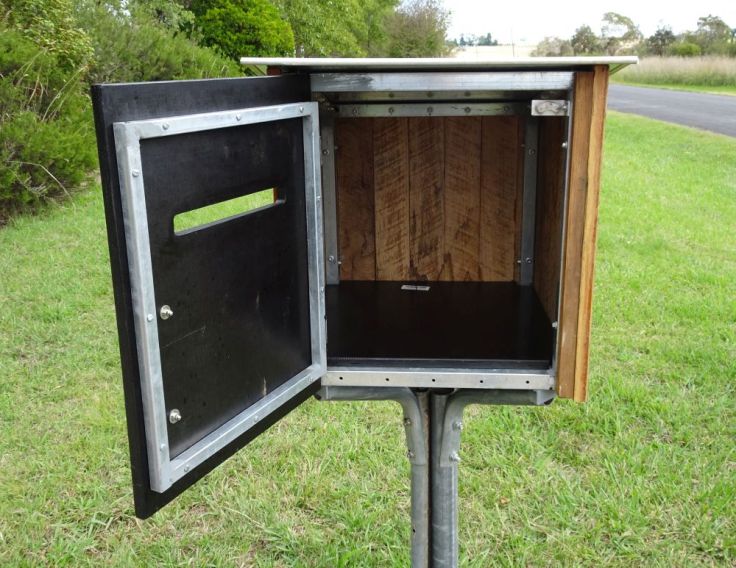
I was going to make the frame of the box out of timber but I was unsure about doing the corners, so I decided to go with 30 x 30mm steel. In hindsight I think that was overkill, but it seemed like a good idea at the time. I was able to use some timber from the side of old kitchen cabinets, about a third of an old trampoline frame and a few other bits I had around. This is how it turned out.
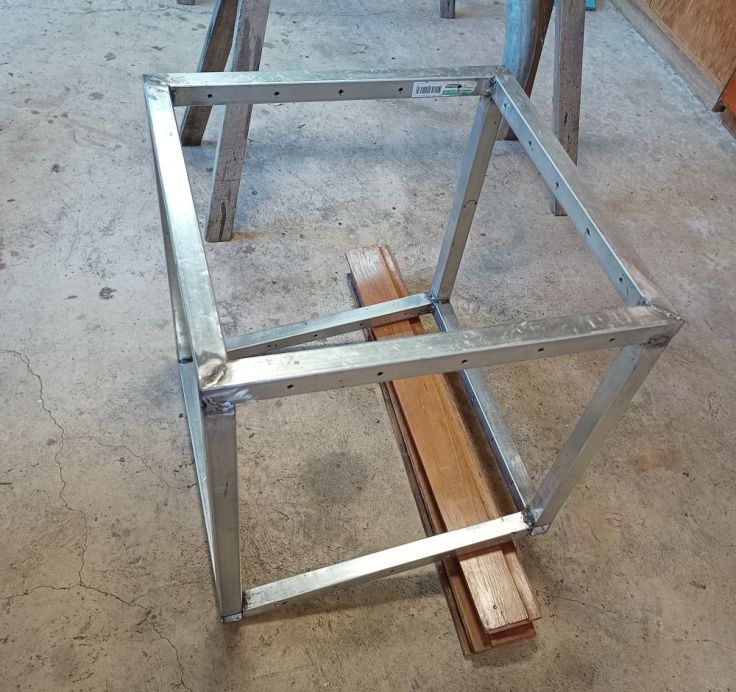
I started by cutting and welding a box frame with a sloped roof. At this point I remembered that I’m not skilled at welding. I do more grinding than welding, but I think I got a bit better towards the end.
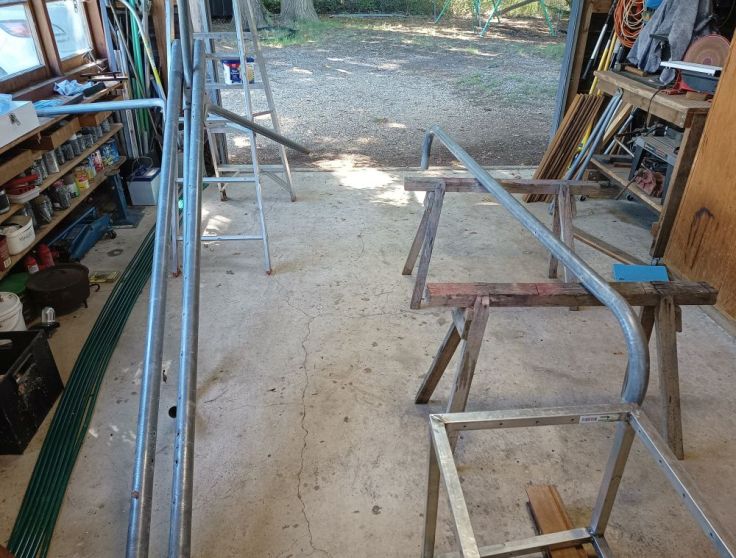
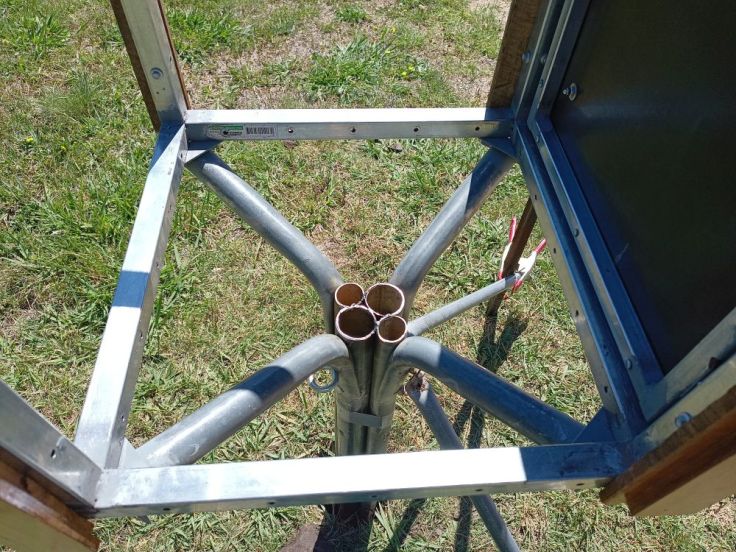
Once the main frame was built I turned it upside down and started on the mounting post. Unfortunately, I didn’t take as many photos as I thought. I looked at different options for the post and decided to have 4 tubes from the trampoline frame grouped together. After cutting these to length I considered how to fasten them to the box. At this point I realised that cutting off the bends meant I had missed an opportunity. Those bent parts could have come up out of the ground and then into a corner 😦
There were some parts still left where parts bolted together that I thought may work and temporarily set it all up so that I could see it. I was pleased with it, running out of options and couldn’t think of an alternative and went with it. You can sort of see a couple of them up against the ladder on the left.
Those came from this part of a trampoline.

It started to become clear that I was going to heavy to move it so I welded the post to bits of angle iron so that I could screw the post and box together, rather than welding them together directly. here it is sitting in the hole.
The timber for the sides was removed from our kitchen when we did a renovation. It is Australian hardwood. A benefit of the steel frame is that I could screw through from the inside into the timber.
I was going to have timber for the front door, but I wasn’t sure how I would do the slot and whether I would end up with something that gave me and the postie splinters when opening the door. I looked at reviews of ply online and found that there were a lot of comments saying not to use marine ply in the weather. I was surprised, but even more so when formply was recommended. I decided to use formply for the bottom of the box which is not exposed to the weather. The smallest sheet had just enough for the door as well, so I used that. I don’t know how this will last, but the way it is built it would be easy to replace.
I was going to use some corrugated roofing, but what I found at Bunnings was extremely thin, really really thin. I found a bit of flat iron in the shed almost the exact size I needed and used it. To cover the edges, I cut some pieces of old aluminium antenna tube into lengths with a cut along the length. One was glued onto the iron with silicon that would become the front edge. The others were hammered flat onto the other sides of the iron.

For a latch I used an old magnet from a hard drive that I held onto a bent part of an old backpack frame with clear heatshrink tubing.
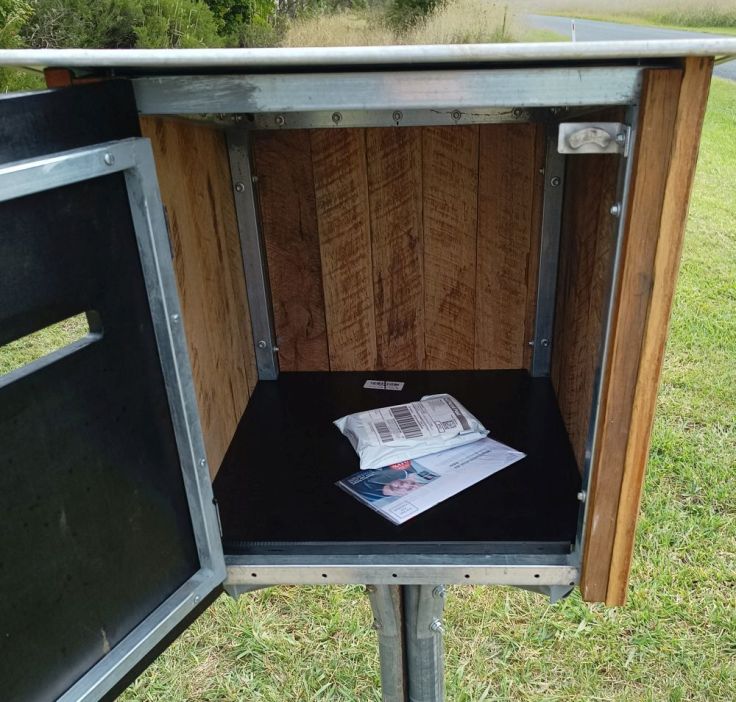
The first day it was up I started to wonder if I made it too big. Later that day I received a small package. Looking at the package and remaining space, I had had more doubts. Perhaps I could list it for rent on Airbnb.
It now has 12cm tall brass numbers on the door that look very smart against the black door.
There is something fulfilling about building something from recycled materials, even though in this case it wasn’t all recycled materials. It cost about AU$200. About $105 of that was on steel, $22 on the brass numbers and surprisingly about $30 on screws. That’s more than I intended to spend but still ok.
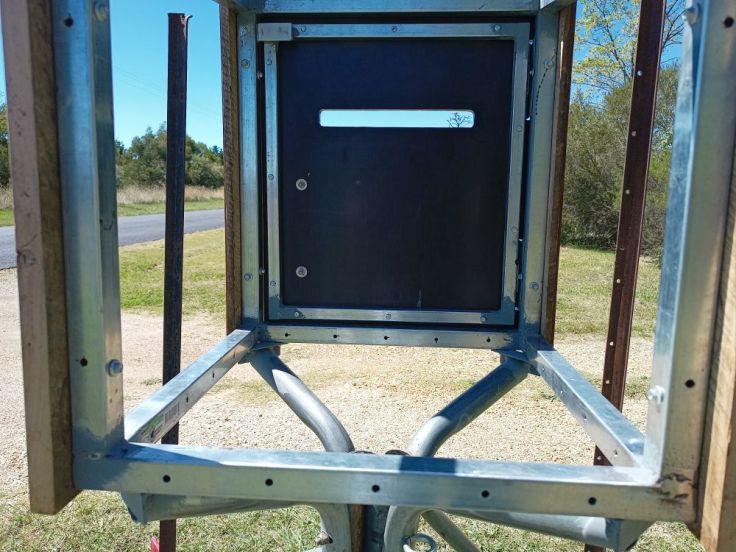
Despite what it looks like in the first photo, it is not on a lean, well, not that you can see, at least not yet.
The next project is to fit some electronics for notifications to the house. As well as monitoring for mail I also want to monitor traffic through the driveway. I have a lot to learn before I finish that. I’ve never done any microcontroller projects that send data or alerts using RF. The signal has to go about 100m which is more than some of the typical methods go. I’ve done some initial tests using ESP NOW that are promising. I also have to learn about low power and solar recharging so it may be a while before I get this completed. Ideally, I want to use as many things as possible that I already have for it. I’ll do a post when I have it done.

This is quite impressive. It looks so nice too.
LikeLike
Hi Kainan, thanks. Occasionally I find a project turns out unexpectedly well 🙂
LikeLike