

Sometimes I find that a project turns out to be much better and useful than I expected. Making coat racks out of railway spikes and old timber has been one of these surprises. I really like the aesthetic of these, and I find them to be quite practical. While we already had 3 sets, I decided to be romantic and make a set for my wife. With each new one I’ve found I am getting better at it and the latest ones definitely look the best. The ones in the image above are in our laundry and have been an excellent addition.
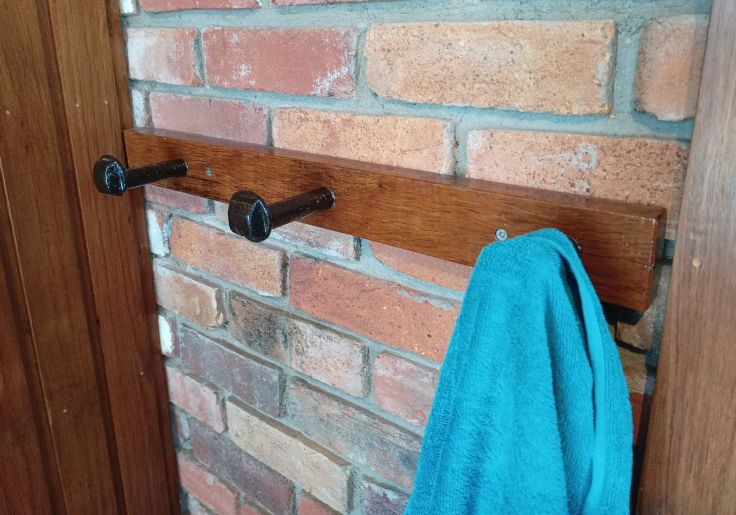
This is an early set in our bathroom. These ones are painted with a two part, gloss polyurethane finish Estapol® 7008
Here is another set in a bedroom.

Used railway spikes can be purchased on eBay, so I bought a pack of 6 for AU$33.99. There was an option to purchase tumble cleaned ones, but I went for rusty uncleaned ones. That meant I had to clean them. I used a wire brush and a wire brush attachment for a drill. It’s not hard to clean them and it results in a satisfying reddish-brown finish. The tumbled cleaned ones tend to look black with shiny marks where they have hit each other.
I mounted them on 2 pieces of old Australian hardwood that had been used in a garden project sitting outside for about 20 years. Australian hardwood is not very easy to work with. It is extremely hard and splintery. It has a habit of getting your fingers at any chance it can, but it does look great when finished. The timbers were sanded down to reveal just the right blend of aged and restored wood grain and I used a router to add a bevel to the edges.
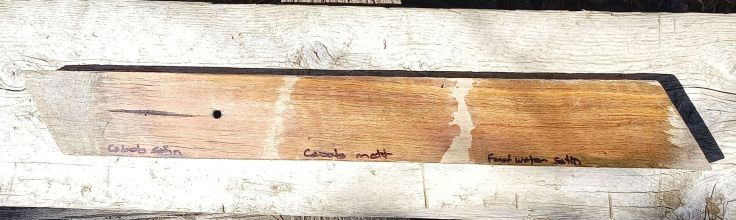
I also prepared a test piece to try out some of the polyuerethane paints I had. I decided on Cabot’s satin oil based polyurethane.
The spikes are quite long so I drilled holes most of the way through the timber to set them in as far as I could. I didn’t go all the way through to make it easier to glue in the spikes. Because the spikes aren’t completely round, I either had to drill slightly larger holes (leaving some gaps) or manually adjust each hole for a snug fit. I went with the second option. I then worked out where the mounting holes needed to be and drilled those. I set the spikes in place with two-part adhesive.
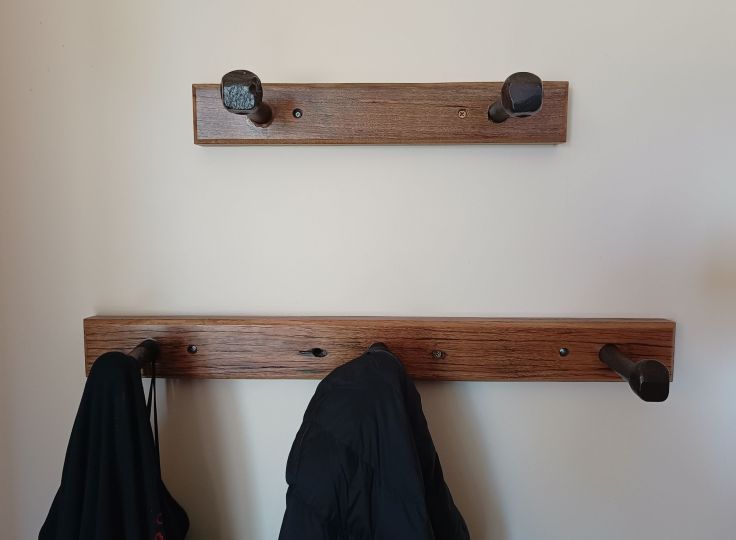
These are the newly finished ones.
These are now mounted behind a bedroom door. They look good and are in use. It’s a fun simple and quick project, well worth the effort. If you decide to make these yourself, be sure to take safety precautions to ensure you get the full enjoyment.

Leave a comment